In my last article I talked about my ideas fo a new transceiver project beyond the QRP level. First pictures of cicuitry were also shown. In the meanwhile the transceiver has been finished, some minor changes had to be made and now it’s time to go to the details.
All construction objectives (compact size, sufficient output power to establish even DX contacts on 40 meters, good stability, good receive performance, rigidness for outdoor use) have been met so far as I can say. I had the rig with me, when I was on vacation on the Island of Jersey (GJ/DK7IH/P) from 12th to 19th of August this year. It was big fun operating the rig. Lots of stations were calling during the two days when I was on 40 meters. ODX was HL1AHS, OM Kun from Seoul. So, this was very nice for 50 watts and a vertical antenna made of a fishing rod.
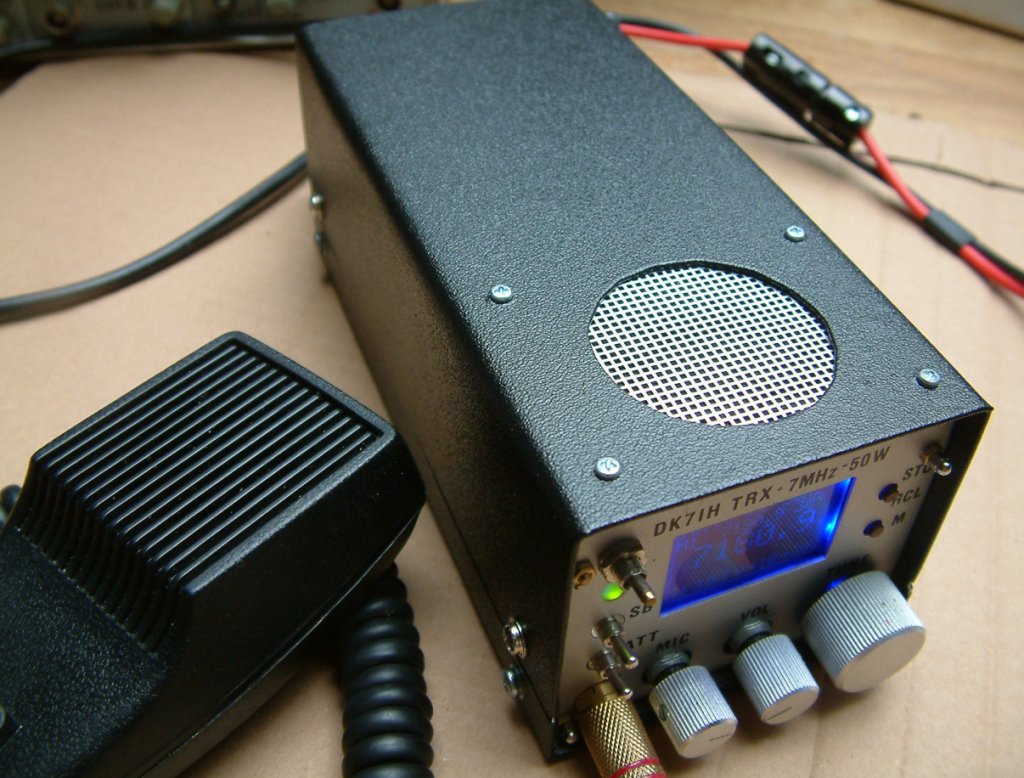
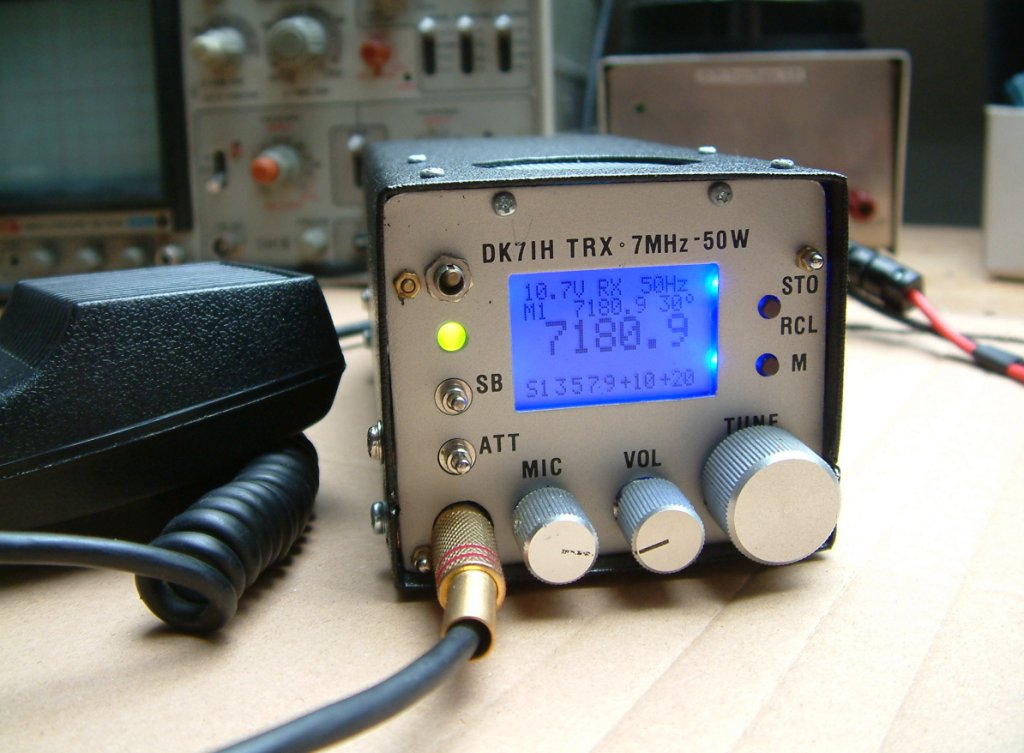
First, to give an overview, let’s have a look on the completed transceiver. Cabinet size is 7.5 x 16 x 6 centimeters.


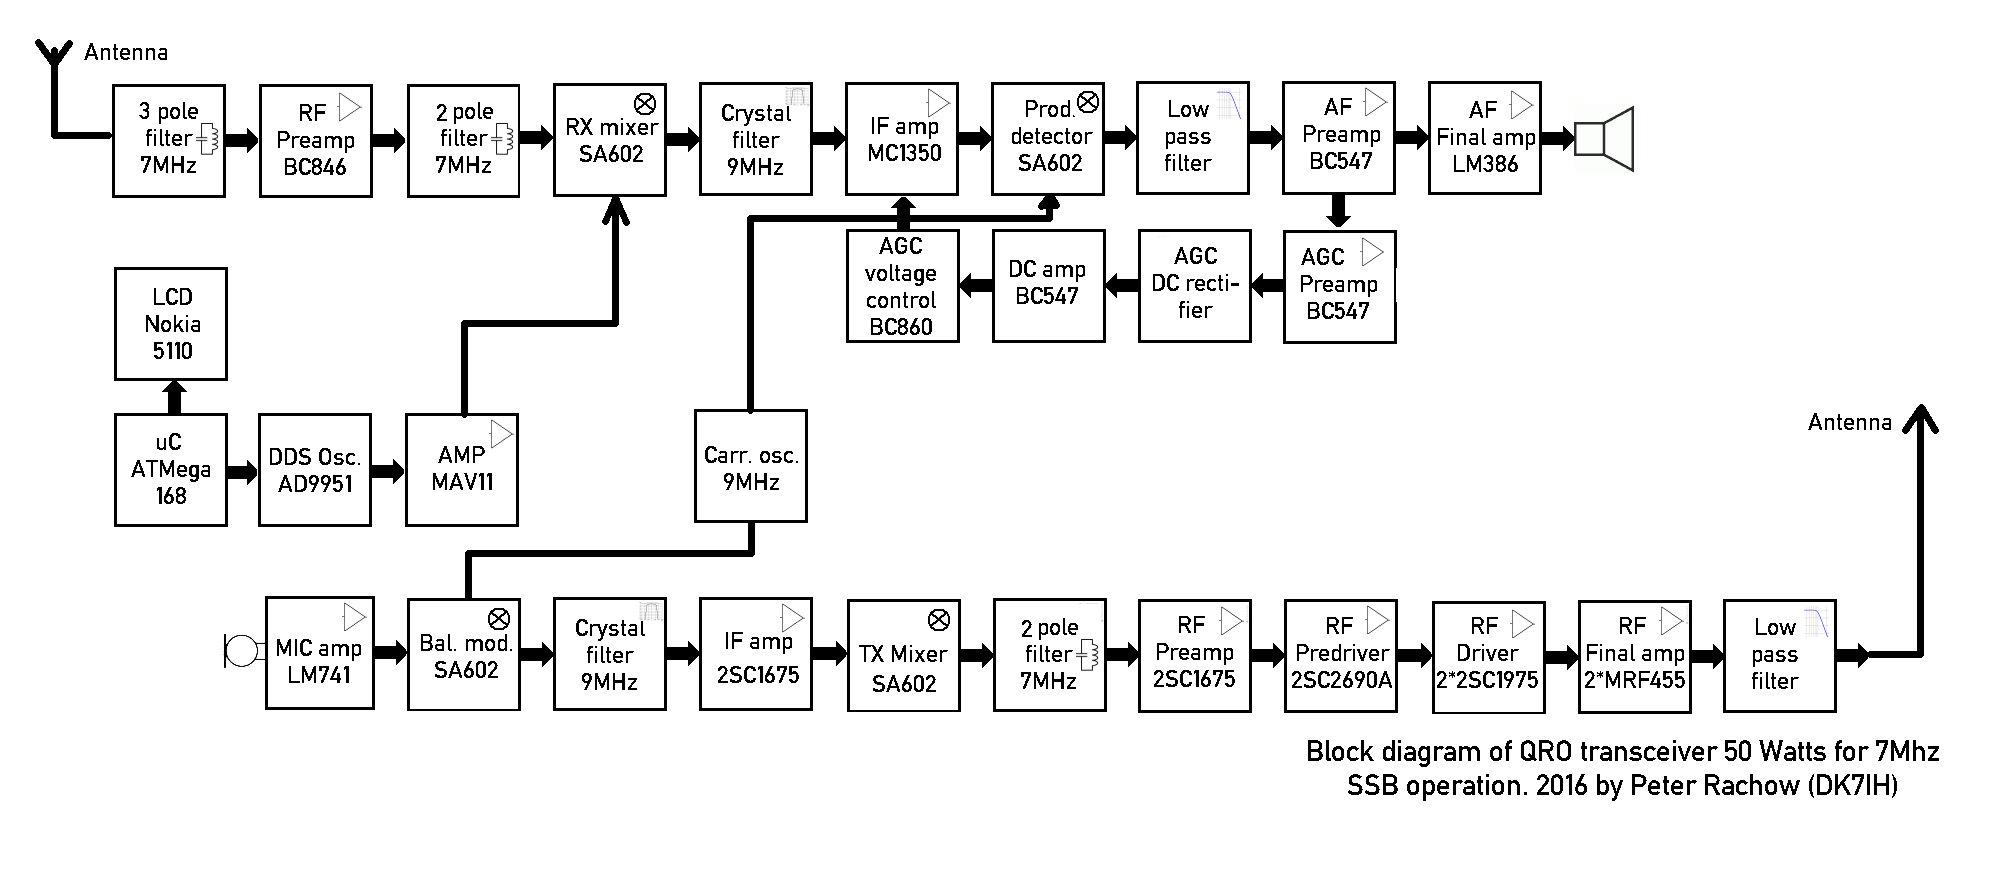
As you can see, the rig is very compact in size. The block diagram gives you an overview what is inside. Receiver section is on top, DDS can be found in the center and the transmitter is sited at the bottom of the diagram. As you can see, it’s again not rocket science and SDR-virus could not strike as well. 😉

The next pages will describe the rig in details step by step. Proceed with the receiver’s front end.
73 de Peter
very nice indeed
well done!!!
Thank you! 😉
I’m glad to see it works. And it’s amazingly small!
I ewant one assembled calibrated and tested.How much?